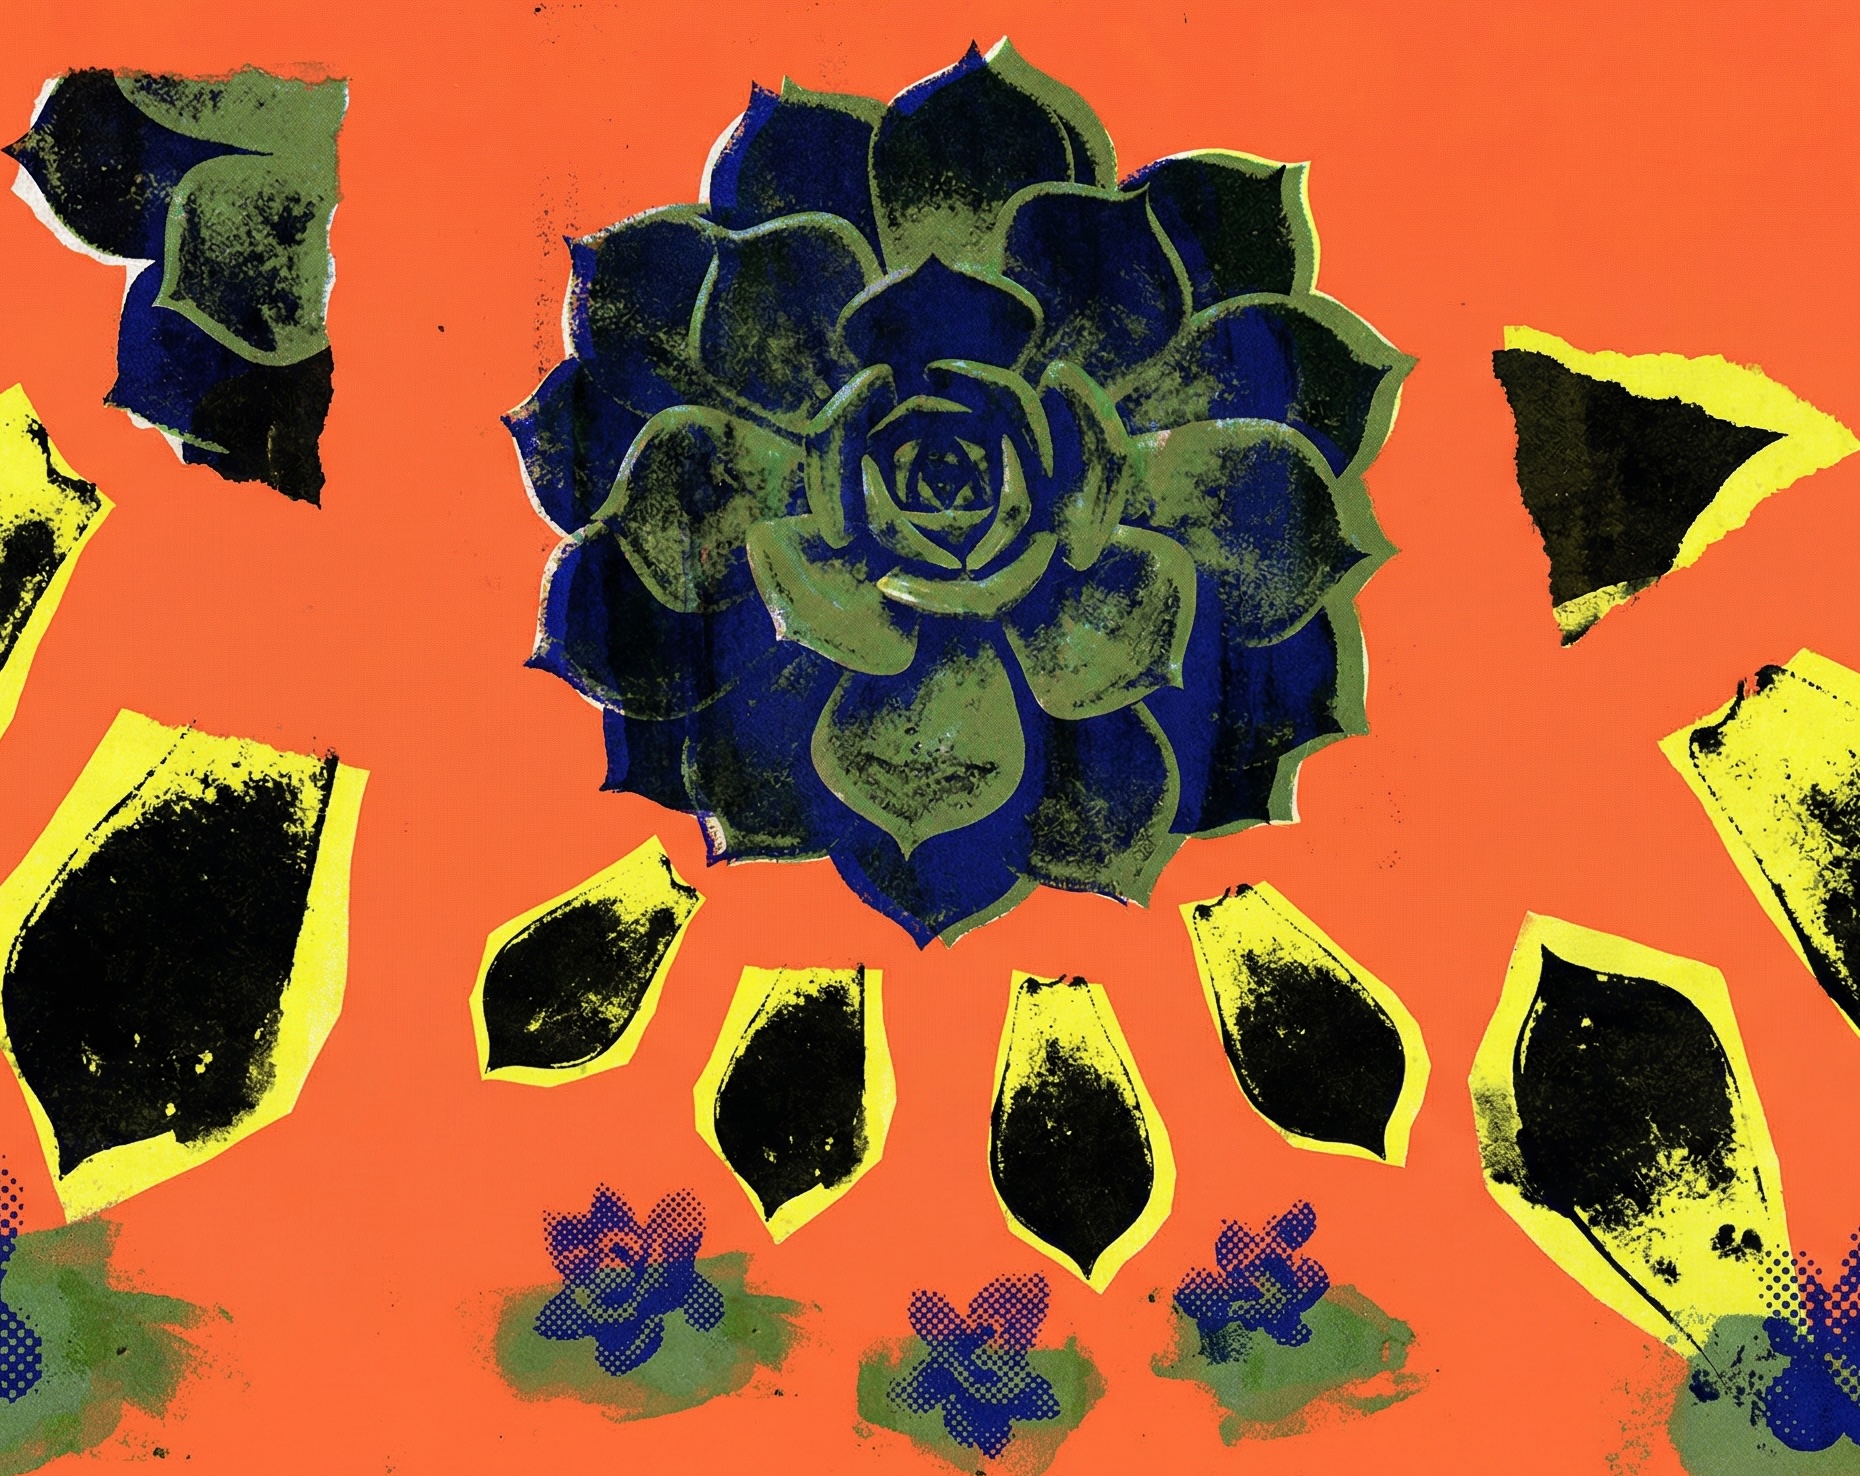
Get the free 7-Day Propagation Blueprint - one lesson a day, zero fluff.

Find Your Plant

Identify Your Succulent

Different succulents need different propagation methods. Find your plant below and follow a roadmap designed specifically for leaves, stems, or offsets.

Jump to Your Succulent

Echeveria succulent rosette in pink and green

Echeveria

Leaf Propagation

The classic rosette succulent. One of the easiest to propagate from individual leaves. Echeveria are forgiving and produce pups quickly once callusing is complete.

Propagation Roadmap

1

Select & Harvest (Day 1)

Choose plump, healthy leaves from the base of the rosette. The older, outer leaves propagate best. Twist gently to achieve a clean break at the base - don't pull or snap.

2

Callus Formation (Days 1–5)

Place leaves on a dry surface in bright indirect light. This is where the wound heals into a protective callus - a dry, tan/white scab-like layer. No water needed. This step is critical to prevent rot.

3

Prepare the Soil (Day 3–5)

Fill shallow trays with gritty soil mix (50%+ perlite or pumice). The goal is fast drainage and air circulation. Dampen the mix lightly - not soaking, just moist.

4

Plant on Soil (Day 5–7)

Once callused, place leaves gently on top of the soil. Don't bury them - they should rest on the surface. The flat side contacts soil; the tip points up slightly.

5

Root Development (Days 7–21)

Keep in bright indirect light (12–14 hours daily if indoors). Mist lightly once per week. Roots should appear in 2–3 weeks as fine pink/white threads at the base.

6

Pup Formation (Days 21–42)

Once roots appear, small green rosettes (pups) will emerge from the base of the leaf. Continue misting. Now you can water lightly at the soil level - not the leaf.

7

Establishment (Days 42+)

After 4–6 weeks, pups develop their own root systems and are ready to transition to individual pots. Wait until roots are 0.5+ inches long before separating.

Echeveria-Specific Tips

  • Best Season: Spring and early summer propagate fastest. Winter propagation is slower but possible with grow lights.
  • Humidity: Echeveria are tolerant. Avoid high humidity (above 60%) which increases rot risk. Mist only after roots appear.
  • Light: Bright indirect light is essential. Too little light causes etiolation (stretching); too much direct sun can scorch young pups.
  • Failure Pattern: Most failures happen in the first 5 days if leaves aren't callused, or if they're watered too early. Trust the process.
  • Success Rate: 70–85% of properly harvested leaves will successfully propagate. This is one of the most forgiving methods.

Jade plant (Crassula ovata) with thick green leaves

Jade Plant (Crassula ovata)

Stem Cuttings Only

A woody, tree-like succulent. Jade propagates from stem cuttings, not individual leaves. The thick woody stems require patience and rooting hormone for best results.

Propagation Roadmap

1

Select Stem Cuttings (Day 1)

Choose young, healthy stems 3–4 inches long. Avoid very old, woody branches (they're slower to root). Cut cleanly with a sterile blade just below a leaf node.

2

Callus Formation (Days 1–7)

Place cuttings on a dry surface for 5–7 days. Woody stems require longer callusing than soft stems. The cut end should develop a firm, dry callus before planting.

3

Prepare Rooting Hormone (Day 5–7)

Get rooting hormone powder or gel. Jade stems are thick and slow to root - hormone is highly recommended. It speeds rooting and adds anti-fungal protection.

4

Plant in Gritty Soil (Day 7)

Dip the callused end lightly in rooting hormone. Bury the cutting 1–2 inches in gritty soil. Firm the soil around it for contact. Do not water immediately.

5

Initial Root Development (Days 7–28)

Keep in bright indirect light. Wait 2–3 weeks before first watering. Jade roots slowly - patience is key. Mist lightly if soil gets dusty, but don't water.

6

Gentle Watering (Days 21–35)

After 3 weeks, water sparingly. Check soil moisture first. The cutting should show slight growth (tiny leaves emerging) before heavy watering begins.

7

Establishment (Days 35+)

By 5–6 weeks, roots should be established. New growth accelerates. Transition to regular watering schedule (allow soil to dry between waterings). Very patient propagation, but worth it.

Jade Plant-Specific Tips

  • Rooting Hormone Is Recommended: Unlike Echeveria, Jade stems benefit significantly from rooting hormone. It's not required, but it speeds success by weeks.
  • Slow Process: Expect root development in 3–4 weeks, not 2. Rooting is slower than leaf propagation. Don't assume failure if progress seems slow.
  • Watering Caution: This is where most Jade propagation fails. Overwatering rot is common. Wait. Be patient. Let calluses form fully before any water touches the cutting.
  • Light Requirements: Bright light encourages faster rooting. 12–14 hours is ideal. Weak light = slower rooting.
  • Success Rate: 60–75% with rooting hormone; 40–50% without. The hormone is inexpensive and worth the investment.

Aloe vera plant with gel-filled leaves

Aloe Vera

Offset Division

Aloe propagates naturally by producing offsets (pups) around the base. These are baby plants with their own root systems, making them the easiest method for this species.

Propagation Roadmap

1

Wait for Mature Pups (Months 6–12)

Aloe naturally produces offsets around the base. Wait until pups are at least 3 inches tall with visible leaves. They should show signs of their own root systems forming.

2

Remove from Parent (Day 1)

Carefully remove the mature pup from the base of the parent plant. If there are tiny roots attached, great - you can see the pup is ready. If no roots are visible, it's not ready yet.

3

Clean the Wound (Day 1)

Remove excess soil from the pup's base. Gently inspect for any rot or damage. The separation point should be clean. Let it air-dry for 1–2 days before planting.

4

Plant in Gritty Mix (Days 1–3)

After the wound has dried, plant the pup in gritty soil. Bury it slightly deeper than it was growing before, so it has good soil contact for its roots.

5

Initial Establishment (Days 1–14)

Keep in bright indirect light. Do not water for the first 1–2 weeks. Let roots establish contact with soil. Mist lightly if you wish, but no watering.

6

First Watering (Days 14–21)

After 2–3 weeks, water lightly. Then return to a dry schedule - water only when the soil is completely dry. Aloe is drought-tolerant and prefers underwatering.

7

Independent Growth (Days 21+)

By 3–4 weeks, roots are established and the pup can be treated as an independent plant. Continue bright light and dry conditions. Growth accelerates after establishment.

Aloe Vera-Specific Tips

  • Pup Readiness Is Critical: Only use pups with visible leaf development and their own root systems. Premature pups won't survive separation.
  • Patience with Young Pups: If your Aloe hasn't produced pups yet, this may take 6–12 months. Mature, established plants produce offsets more readily.
  • Wound Drying: The 1–2 day drying period reduces rot risk significantly. Don't rush to plant immediately after separation.
  • Overwatering Risk: Aloe are extremely drought-tolerant. Overwatering is the #1 killer. When in doubt, don't water.
  • Success Rate: 85–95% for properly separated pups with their own roots. This is one of the most reliable methods.

Aeonium with dark purple to black rosette leaves

Aeonium

Stem Cuttings

A dramatic, often dark-leafed rosette. Aeonium is summer-dormant, so the best propagation window is fall and winter when they're actively growing.

Propagation Roadmap

1

Choose Your Season (Fall–Winter)

Aeonium enters dormancy in summer. Propagate in fall or winter when they're actively growing. Cuttings taken during active growth root much faster and more reliably.

2

Select & Harvest Rosettes (Day 1)

Cut entire rosettes with 2 inches of stem attached. Include the stem - this is where the root initials form. Make a clean cut with a sterile blade.

3

Callus Formation (Days 1–5)

Place rosettes on a dry surface for 3–5 days. The cut end should develop a dry callus. During active growth season (fall/winter), callusing is faster.

4

Plant in Gritty Soil (Day 5–7)

Bury the 2-inch stem in gritty soil. The base of the rosette should sit just above soil level. Press gently to ensure soil contact along the stem.

5

Root Initiation (Days 7–14)

Keep in bright light. Aeonium roots quickly during active growth season - often in just 1–2 weeks. Wait 2 weeks before testing for roots gently.

6

Light Watering (Days 14–21)

Once roots appear (2+ weeks), water lightly at the base. Don't saturate. Aeonium prefers slightly moist soil during growth season, unlike other succulents.

7

Establishment & Growth (Days 21+)

After 3–4 weeks of active growth, the cutting is fully established. Aeonium will produce new leaves as days lengthen toward spring. Reduce watering as summer approaches and dormancy begins.

Aeonium-Specific Tips

  • Timing Is Everything: Fall and winter propagation is 2–3x faster than spring/summer attempts. Respect the plant's dormancy cycle.
  • Active Growth = Fast Rooting: During their active season, Aeonium root faster than most other stem cuttings. You can expect roots in 10–14 days instead of 20+.
  • Stem Length Matters: A 2-inch stem is ideal. Too short and there's nowhere for roots to form; too long wastes energy.
  • Summer Dormancy Strategy: If you must propagate in summer, use grow lights to extend daylength and keep plants in cooler conditions (below 75°F if possible).
  • Success Rate: 75–85% during active growth season. 40–50% during dormancy. Season selection is critical.

Sedum succulent with small rounded leaves

Sedum

Leaf Propagation

The easiest succulent to propagate. Leaves often root where they fall. Sedum is nearly impossible to fail with - minimal care needed, maximum forgiveness.

Propagation Roadmap

1

Harvest Leaves (Day 1)

Gently remove healthy leaves from stems or rosettes. Sedum leaves detach easily - even careful handling will leave you with more leaves than you planned.

2

Minimal Callusing (Days 1–3)

Unlike other succulents, Sedum can tolerate brief watering. You can skip extended callusing - just let them rest for 1–3 days if you wish. They're forgiving either way.

3

Place on Soil (Day 1–5)

Scatter leaves on top of gritty or regular soil. They can root right where they sit. No need to bury them - just surface contact is enough.

4

Minimal Misting (Days 1–14)

Mist lightly once every few days if soil looks very dry. Sedum prefers dry propagation but won't fail if soil is slightly moist. Just avoid saturation.

5

Root Emergence (Days 5–14)

Roots appear very quickly - often within a week. You'll see fine white roots emerging from the leaf base, sometimes little pups forming at the same time.

6

Pup Development (Days 14–35)

Small rosettes emerge from the base of rooted leaves. This happens fast with Sedum - sometimes within 2–3 weeks. Keep misting occasionally.

7

Transition to Pots (Days 35+)

Once pups have 4–6 leaves and a small root system, they're ready for individual pots. Sedum is the quickest succulent to propagate - often ready to pot in 4–6 weeks total.

Sedum-Specific Tips

  • The Easiest Succulent: Sedum is forgiving of technique errors. Even if you overwater or underwater, many leaves will still root.
  • Fast Results: Expect roots and pups faster than any other succulent method. This is great for beginners building confidence.
  • No Callusing Required: While callusing prevents rot in other succulents, Sedum can root with moist soil. Feel free to skip the callus phase if you're impatient.
  • High Success Rate: 80–95% of Sedum leaves propagate successfully. It's hard to fail with this one.
  • Light Needs: Sedum tolerates lower light than Echeveria or Jade. Bright indirect is still best, but they're forgiving of less-than-ideal light.
  • Best Season: Spring and summer are ideal, but Sedum propagate year-round. They're consistent performers.

Picked Your Plant?

You've got the roadmap. Here's what to do next.

Read the Full Guide

Get deeper into the science of why each step works. Understand callus formation, root initiation, and the biology behind propagation.

Read the guide →

Success vs. Failure

Learn to spot the difference between a healthy callus and early rot. Seven side-by-side comparisons to train your eye.

Compare signs →
🩺

Rot Diagnostic

Already seeing black leaves or mushy stems? Identify what went wrong and whether your plant can still be saved.

Diagnose →

Start Propagating This Week

Join the free 7-Day Propagation Blueprint. One email a day, each one builds on the last. By day 7, you'll have your first successful propagation in progress.

No spam. Unsubscribe anytime.